Now that you have a working setup, let’s put Sigasi through its paces. We’ll start by creating a “Hello World” project to showcase the basics of project creation.
First, create a folder called hello-world in a location that suits you. Now, start VS Code and open the hello-world folder ().
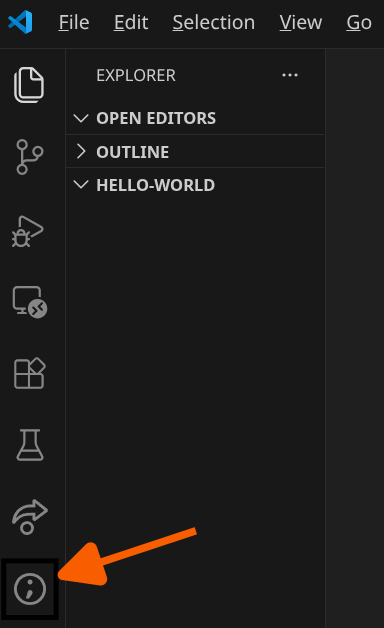
You should see an empty VS Code workspace focused on the Explorer Activity. The real action happens in the Sigasi Activity, indicated by the Sigasi logo,  .
.
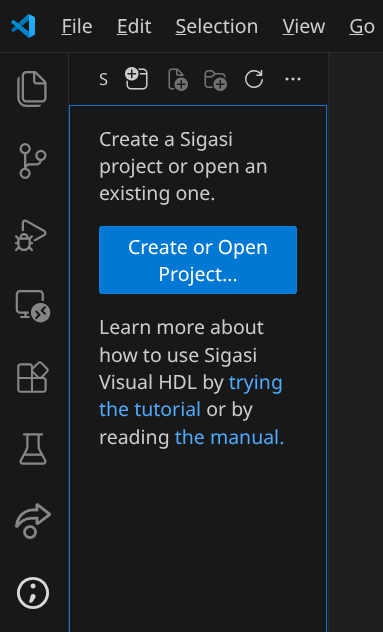
Here you are prompted to create or open a project. Click the Create or Open a Project button to initialize the project in the hello-world folder.
If you switch to the Explorer, you will find that the hello-world folder now contains a project.sigasi file. This is where Sigasi stores the project description. Sigasi also opens project.sigasi in the editor so you can inspect or edit it directly. In general, when you open a folder containing a project.sigasi file, Sigasi will automatically start.
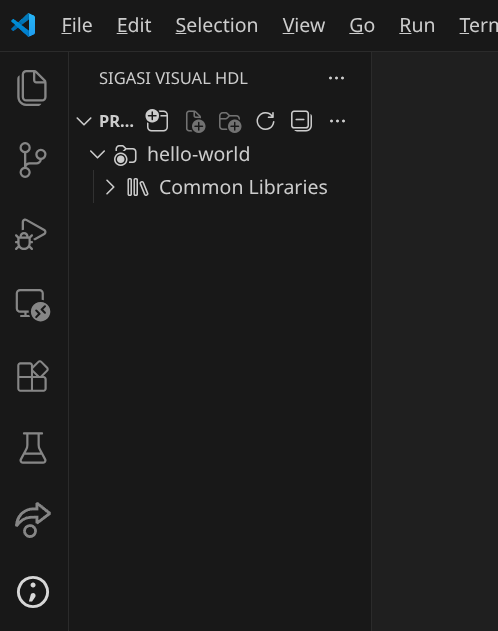
The hello-world project is now shown in the Projects View. Currently, it is empty except for the Targets folder, which contains information about how the project is being built. You can ignore this folder for now.
What else is there? There are also the Design Hierarchy, UVM Topology, and Libraries views. Let’s have a quick look at the Libraries View.
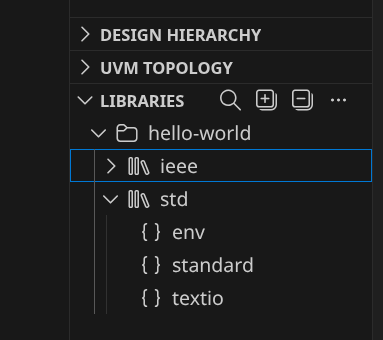
At the moment, no libraries are listed. As you develop your project, you will populate this view with your own libraries and design units.
Now, let’s add some content. We’ll create one SystemVerilog file and one VHDL file to demonstrate the simplest use case. Right-click the hello-world node in the Projects View and select New File…. Name the file verilog_hello.sv. Because of the .sv extension, Sigasi recognizes it as a SystemVerilog file.
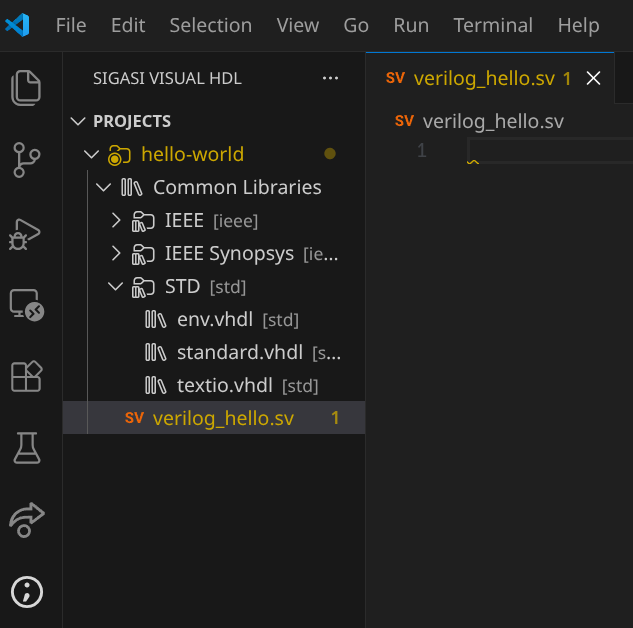
You will notice a small yellow squiggle at the top of the file. This is a warning from Sigasi. Hovering over the squiggle reveals a hint.
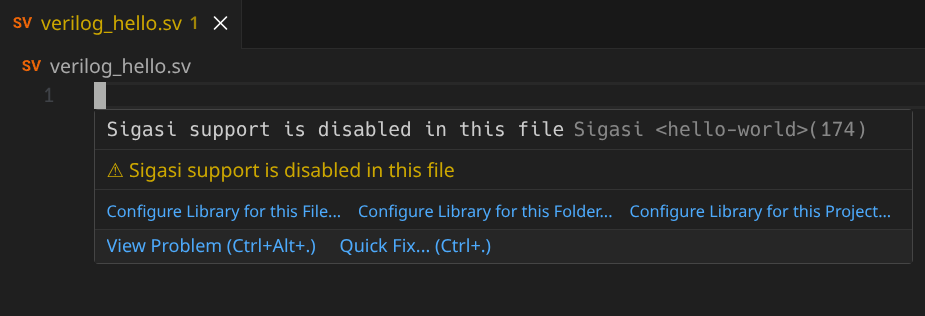
It says “File must be mapped to a library for Sigasi analysis”, indicating that the file is not yet being analyzed. To enable full support, the file must be assigned to a library.
You can also inspect these warnings in the Problems View ().

To fix the problem, hover over the squiggle again and select Configure Library for this Project…. This allows you to set a default library for the entire project. Enter the library name hello_lib. The warning will disappear as Sigasi begins analyzing the file. Any new files added to the project will now be automatically assigned to hello_lib.
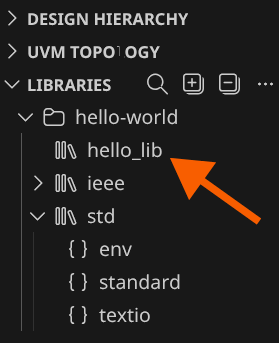
If you look at the Libraries View again, hello_lib will now be visible. The Libraries View only shows libraries that are currently in use.
Next, let’s add a module declaration. Place your cursor in the editor and press Ctrl+Space
to open Content Assist. Start typing module and press Enter when the module template is selected. Sigasi will insert a module skeleton for you.
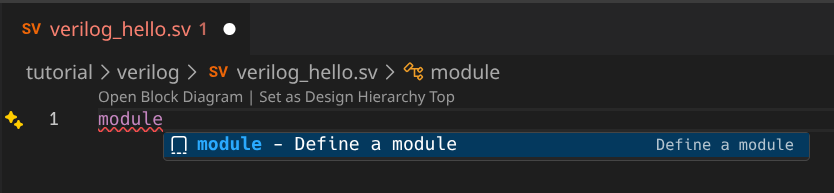
Note that Sigasi automatically names the module verilog_hello to match the filename. It also flags clk and rst as unused ports—a helpful linting feature we will explore later.
To properly set up Verilog projects, you often need to configure include paths. First, create a folder called include_dir by right-clicking the project node and selecting New Folder…. To tell Sigasi to use this folder for includes, right-click include_dir and select .
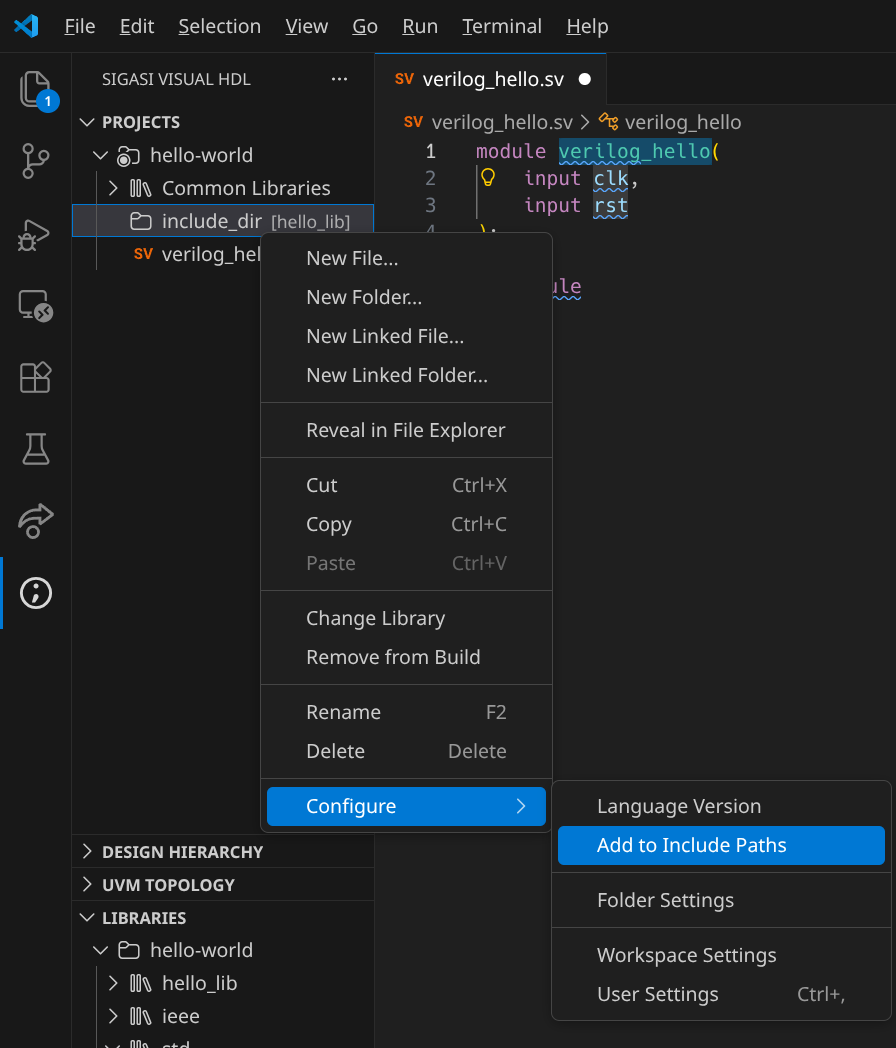
Now, any files created in include_dir can be included in your Verilog files. For example, if you add my_include_file.svh to include_dir, typing `include "my_include_file.svh" will be correctly recognized.
Finally, let’s create a VHDL file. Right-click hello-world in the Projects View and select New File…. Name it vhdl_hello.vhd.
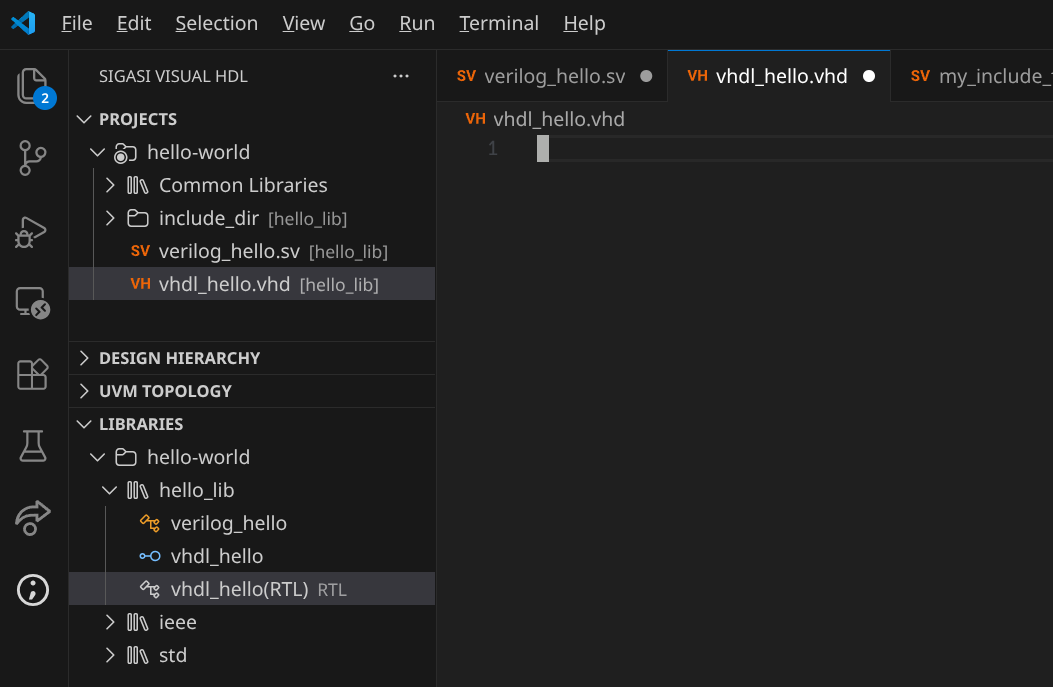
Notice that vhdl_hello.vhd is already mapped to hello_lib because we previously assigned the entire project to that library.
Also notice that a new folder appeared called VHDL Standard Libraries[2019]. This folder contains standard VHDL libraries such as standard.vhdl and textio.vhdl. These files are virtual and do not exist on your physical disk; they are provided so you can consult standard definitions when needed.
You will also notice these libraries appeared in the Libraries View.
To add content, place your cursor in the empty file, press Ctrl+Space
, and type entity/arch.... Select the entity/architecture pair template. Just like with SystemVerilog, Sigasi creates the boilerplate for you, naming the entity vhdl_hello.
When you are ready to share your hello-world project with colleagues, remember to check the project description into your version control system. For Sigasi, you should include the project.sigasi file. If you have configured any linting rules or other settings, also include the .sigasi directory, except for .sigasi/generated, which contains log files and other debug information. See Creating Modular Projects for details.