Sigasi provides several features that help write UVM testbenches. However, you first have to set up a project with a UVM library to use these features.
Without a UVM library, your project will report many errors indicating missing declarations and undefined macros:
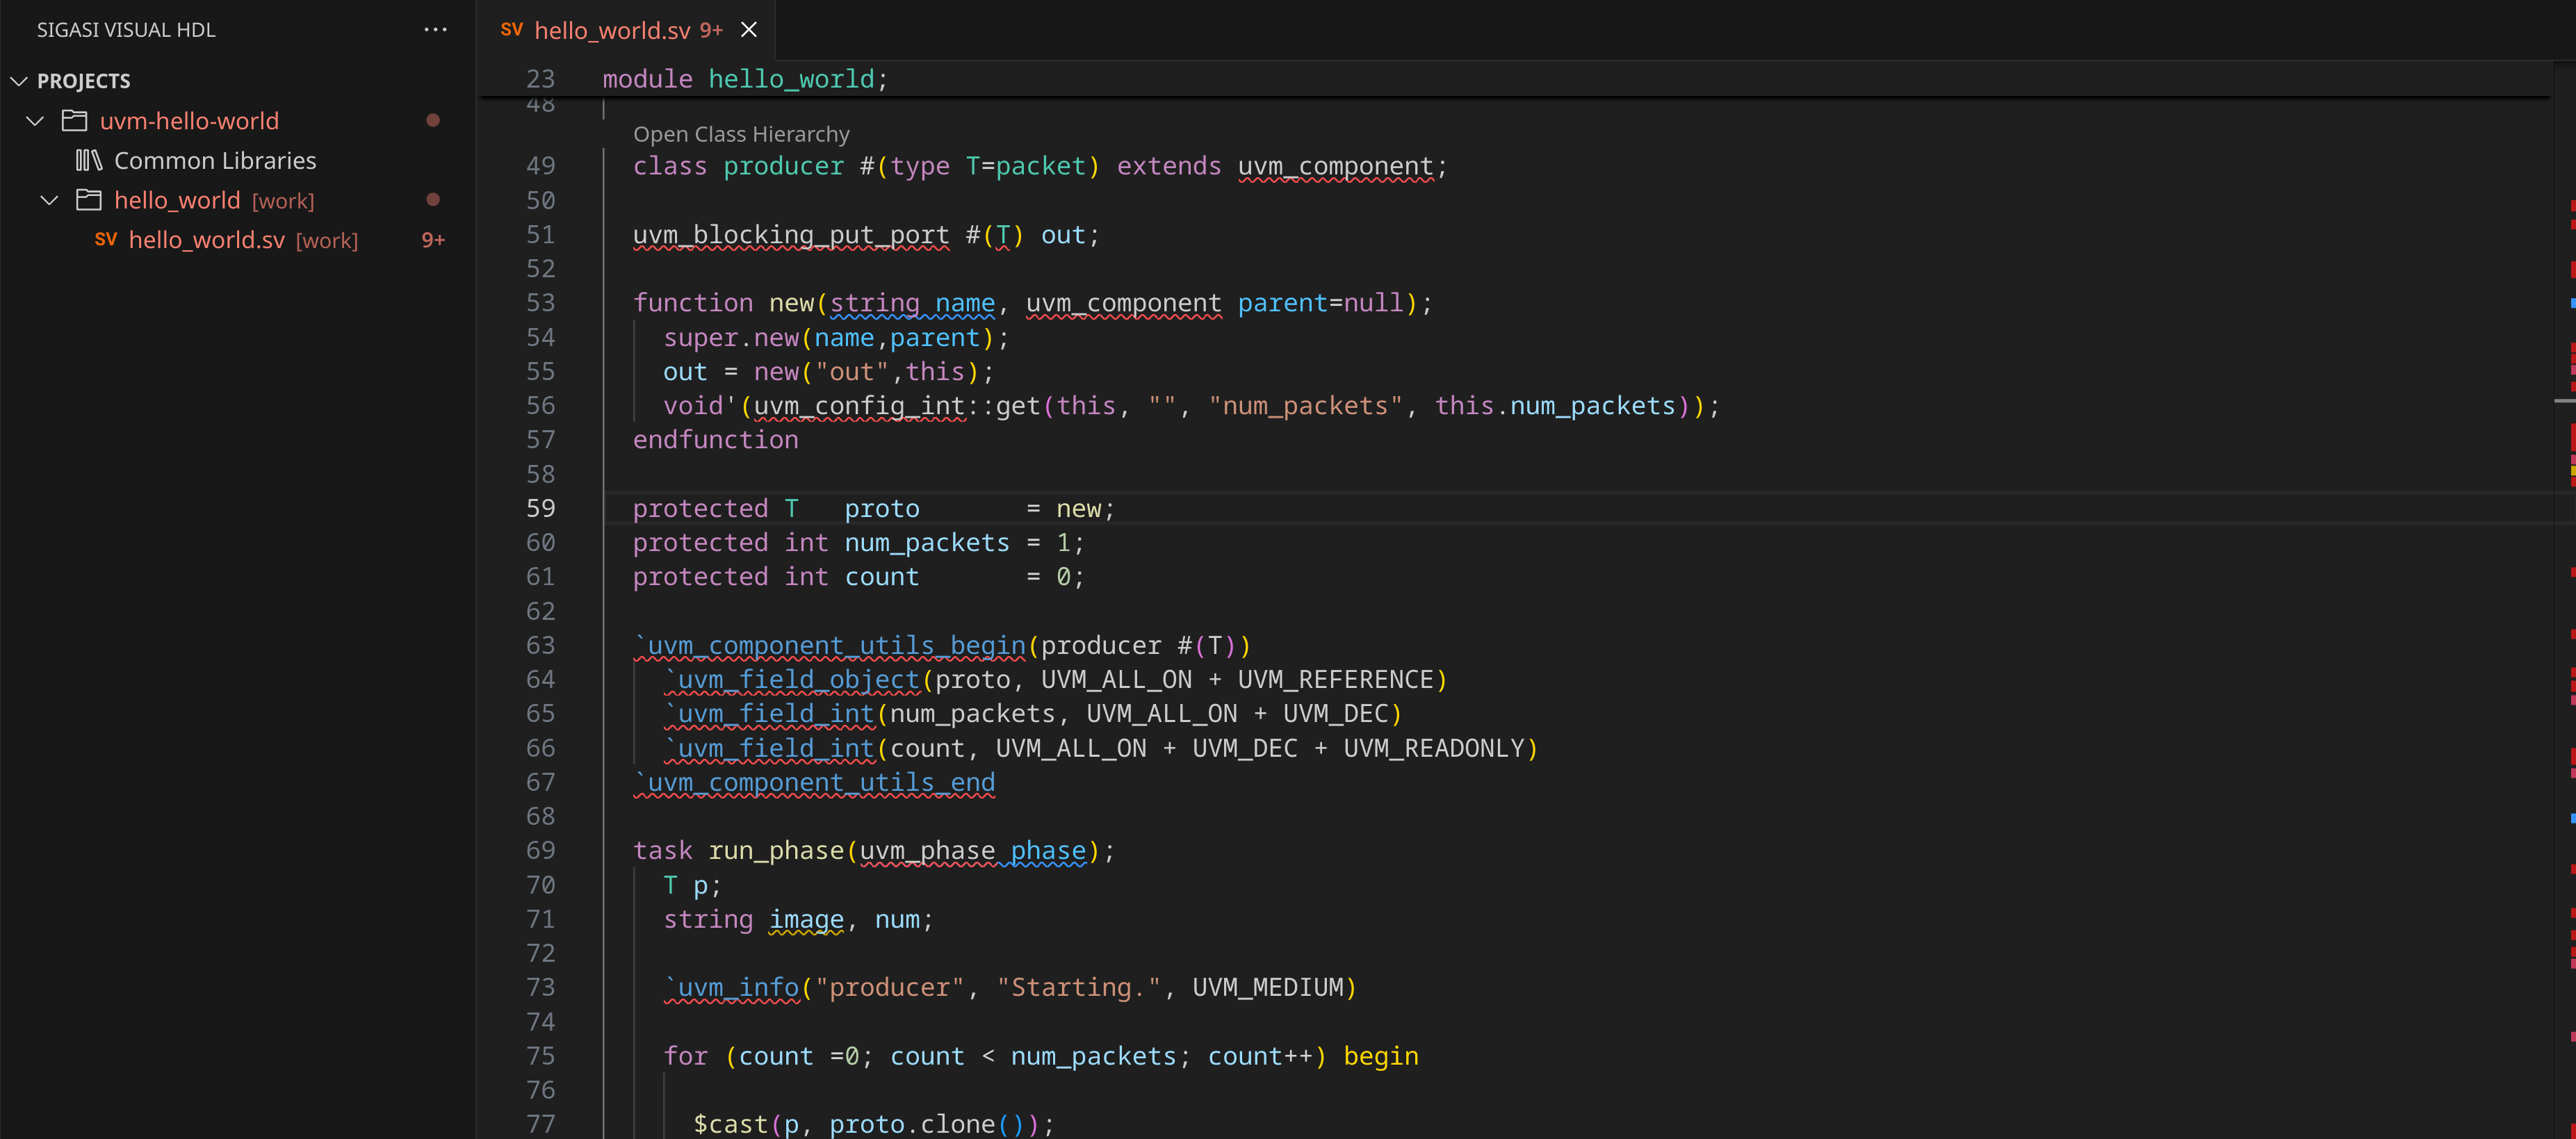
How you make the UVM library available to your code depends on which project format you use.
In a Modular Project
Sigasi ships with the following UVM versions built-in: 1.1d, 1.2, 2017-1.1, and 2020-3.1.
You make UVM available to your code by adding it as a dependency of a target or of the entire project.
Through the Projects View
Right-click the project in the Projects view and select to add the dependency.
Right-click a specific target instead to add the dependency to that target. In the dialog that follows, pick UVM and the version you want.
The new dependency shows up under the Dependencies folder.
By editing project.sigasi
Equivalently, you can add the dependency to the dependencies field directly in project.sigasi:
{
  "name": "uvm_example",
  "targets": {
    "tb": {
      "libraryMapping": {
        "testbench": "testbench"
      },
      "dependencies": [
        { "UVM": "1.2" }
      ]
    }
  }
}
To use a different UVM distribution than the bundled ones (for example, a copy provided by your tool vendor), extract it into the Library Database and refer to it the same way through the dependencies field.
In a Classic Project
Refer to the Project Setup section for general project setup instructions.
- Open the folder of your UVM project and add Sigasi support to the project.
- Make sure that UVM is added to Sigasi Tools and Libraries as explained in Adding Third-Party Libraries to a Project. If you don’t have UVM source files on your system yet, you can download them here .
- Use the UVM library inside your project by opening the Project Settings, selecting UVM, and clicking the
APPLYbutton as shown below.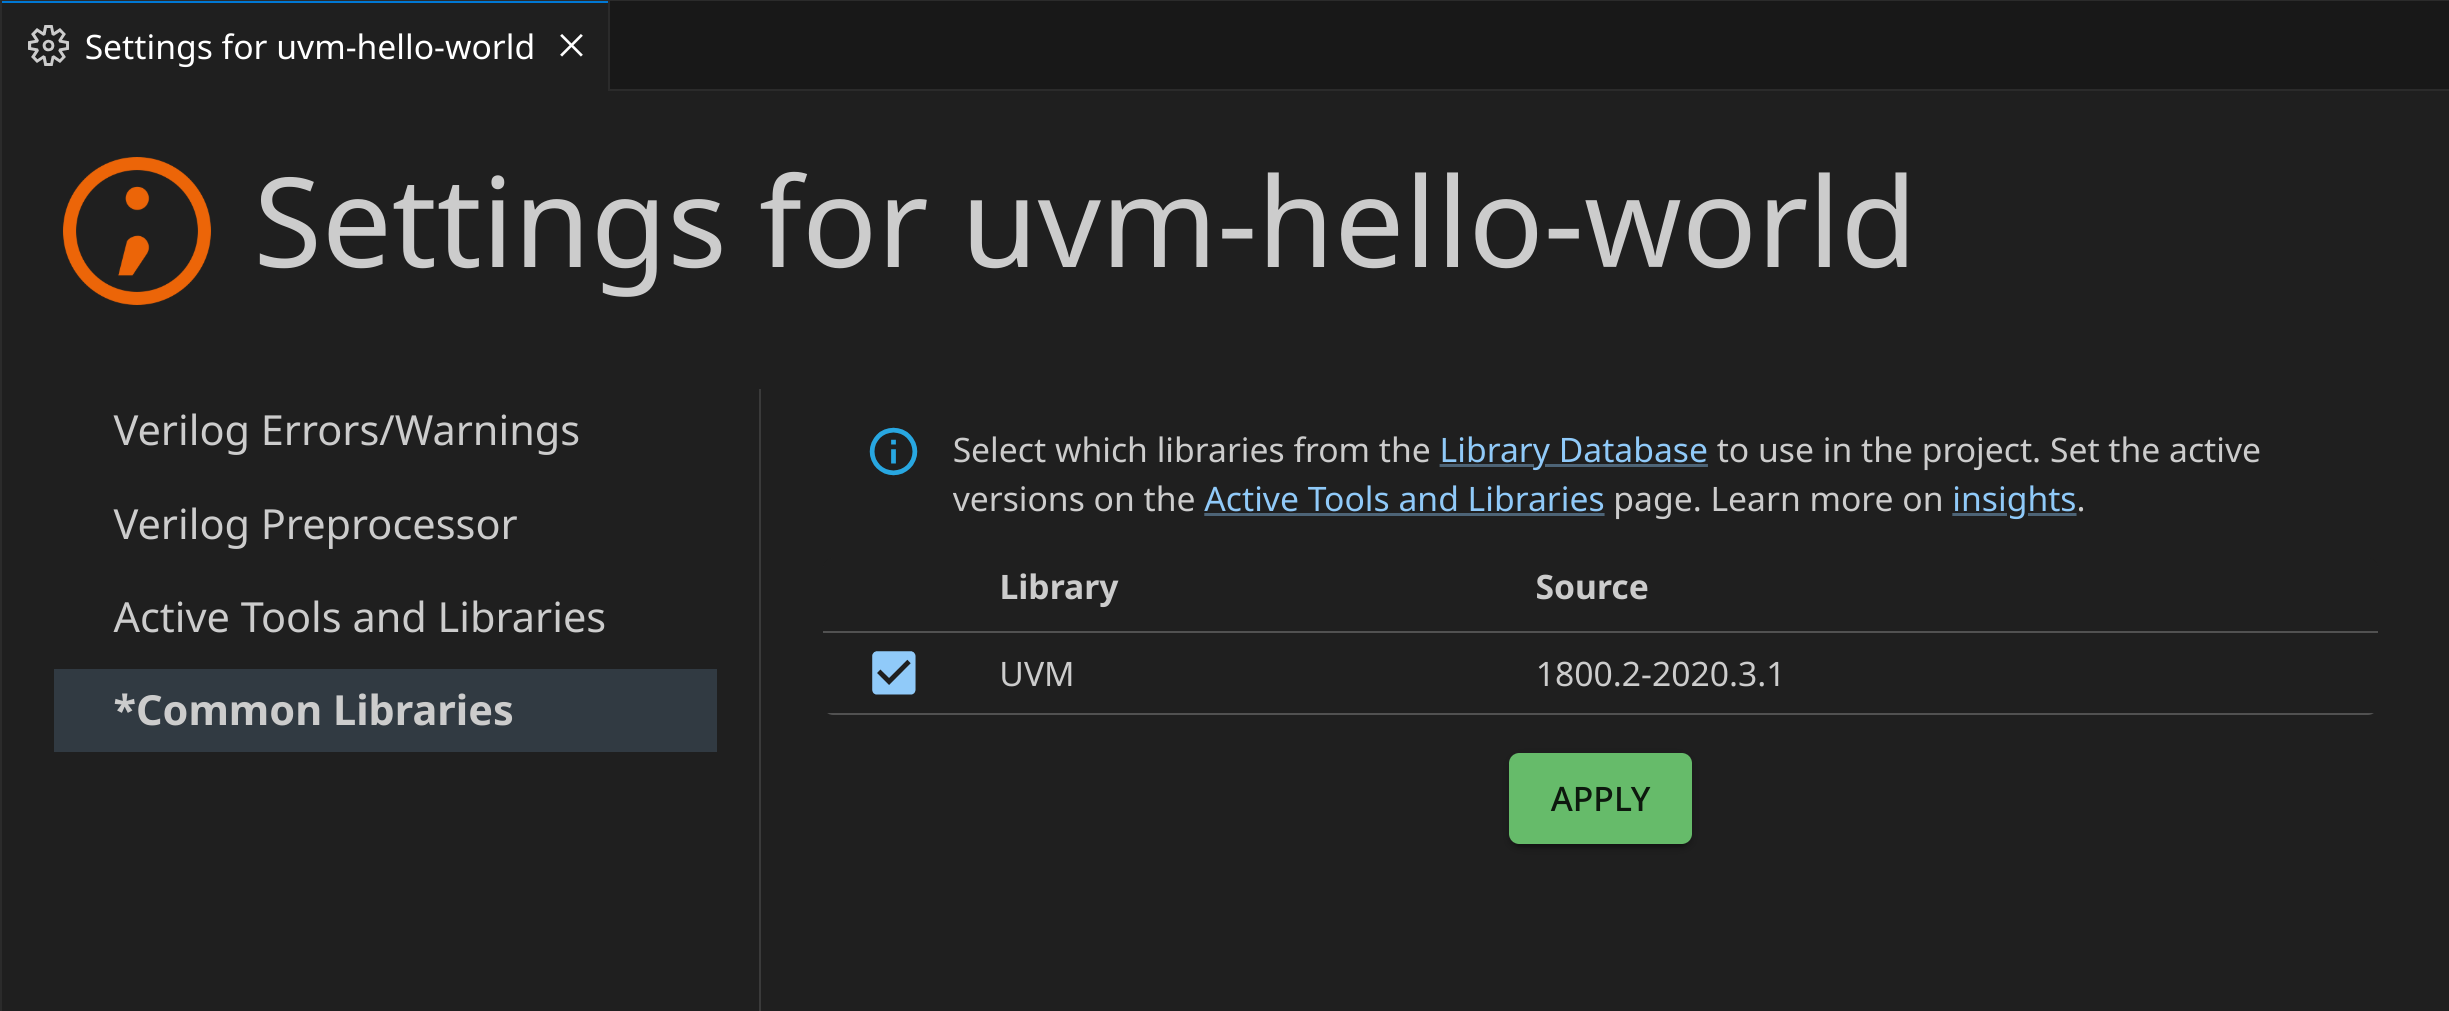
The linked UVM folder will appear inside the Common Libraries of the Projects View: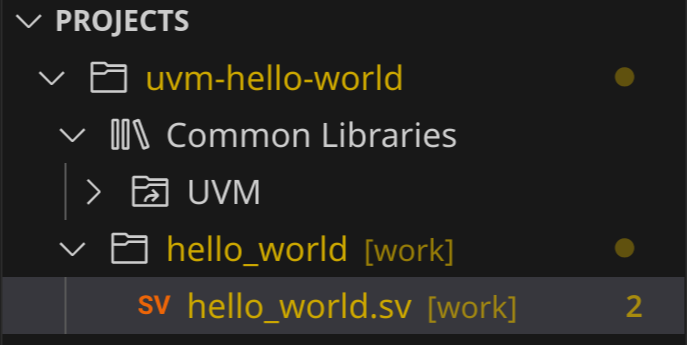
Verifying the setup
Regardless of the project format, after completing the steps above the errors related to UVM should be gone: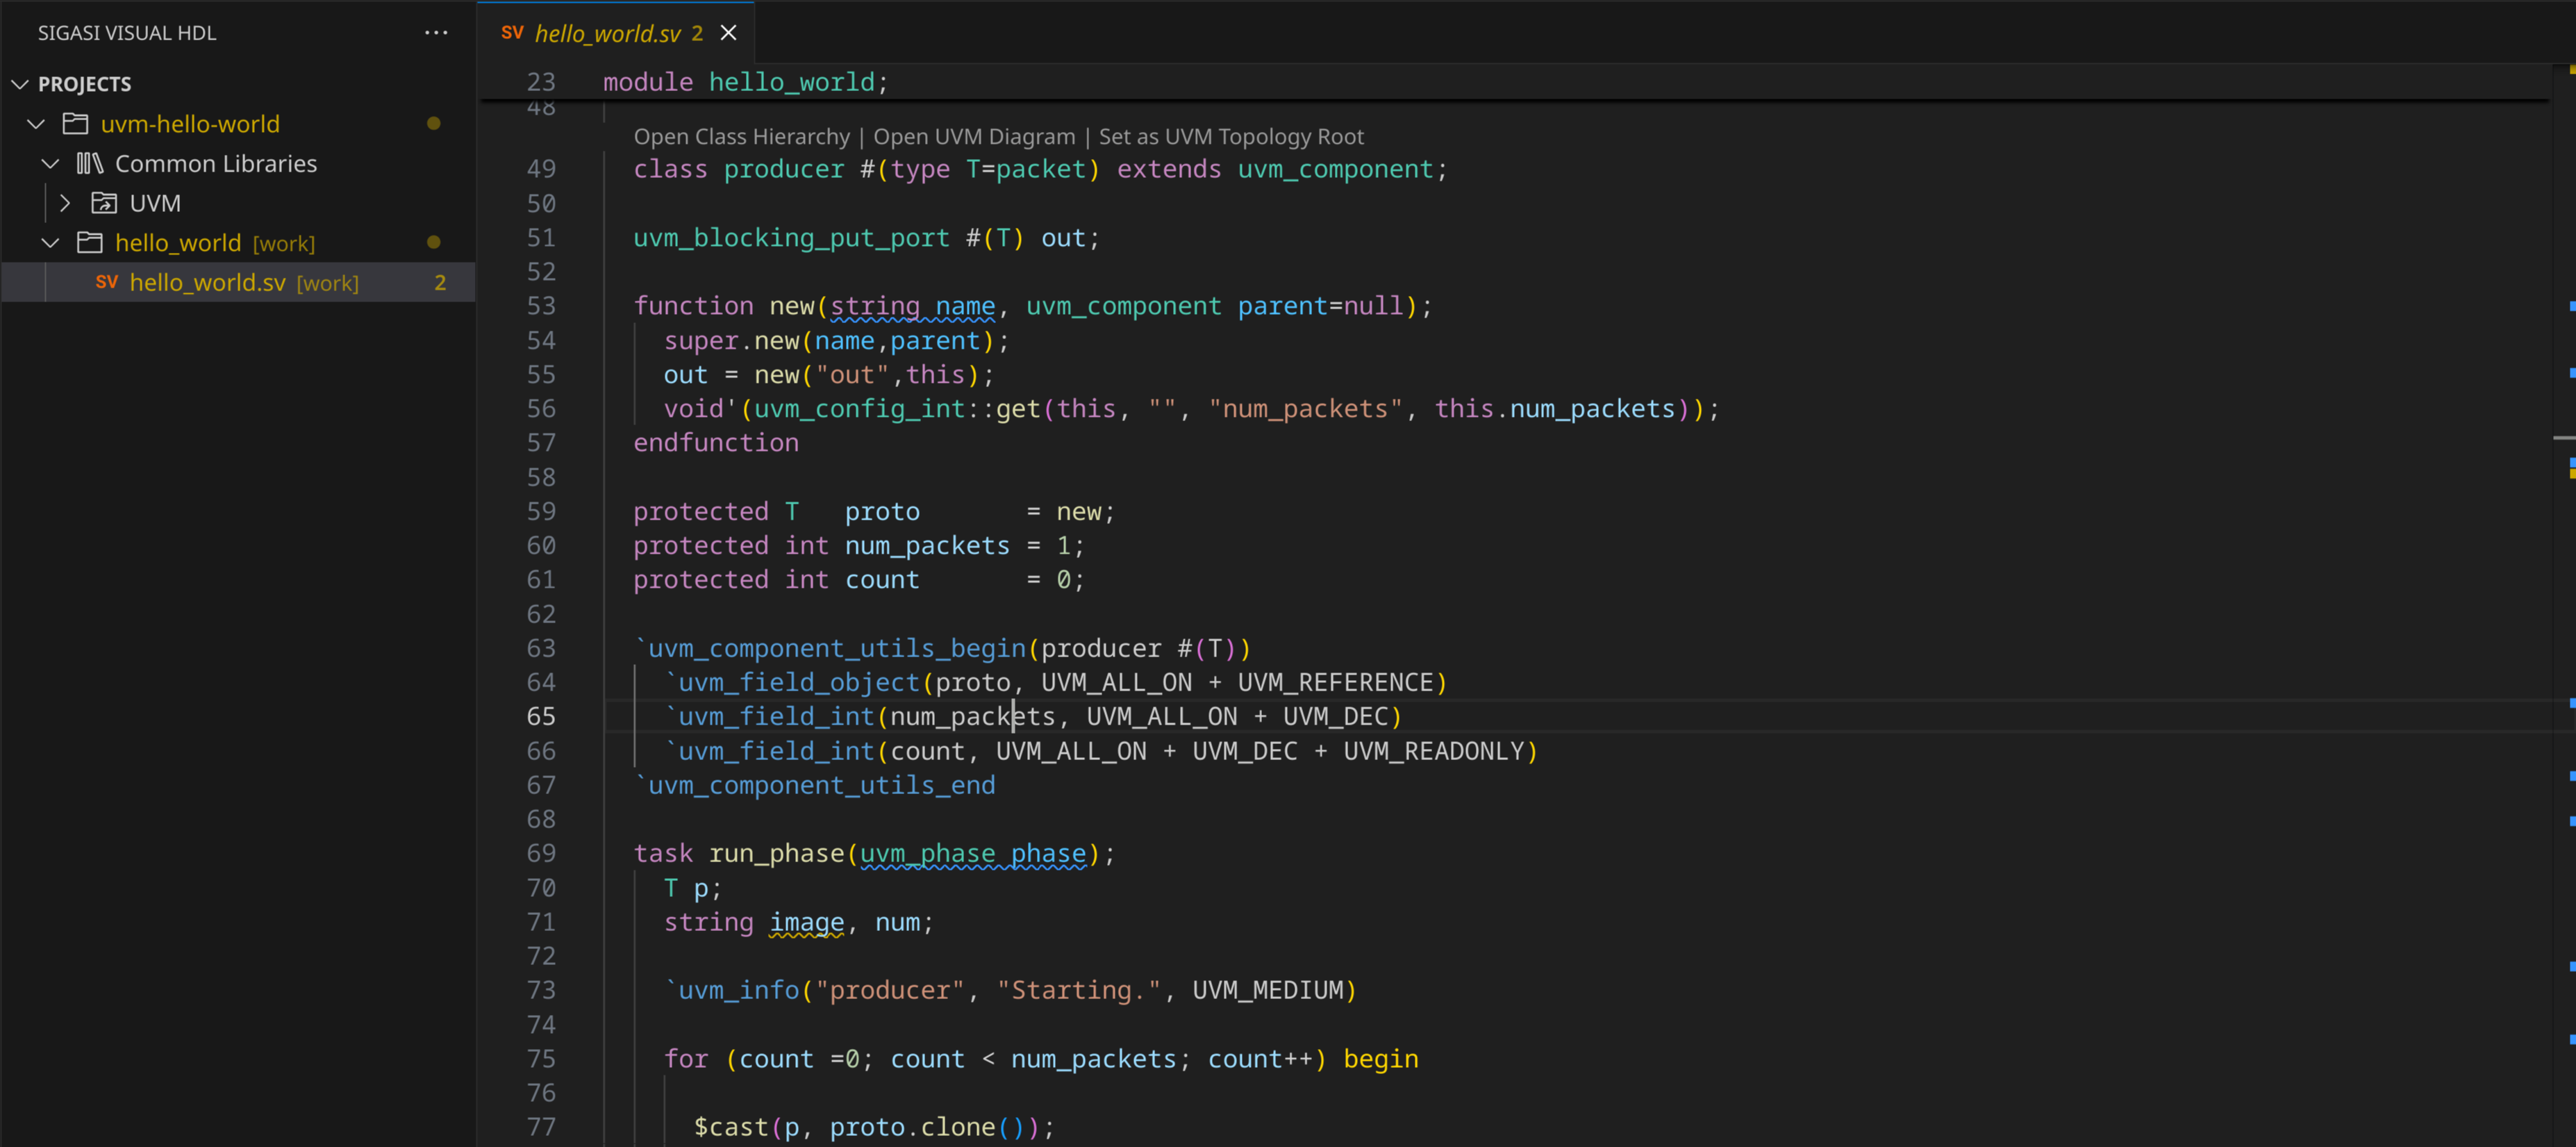
You can now use all the UVM features, such as the UVM Diagram, UVM Topology View, and Preprocessor view. The latter resolves any includes automatically and allows you to view the entire UVM code after preprocessing.